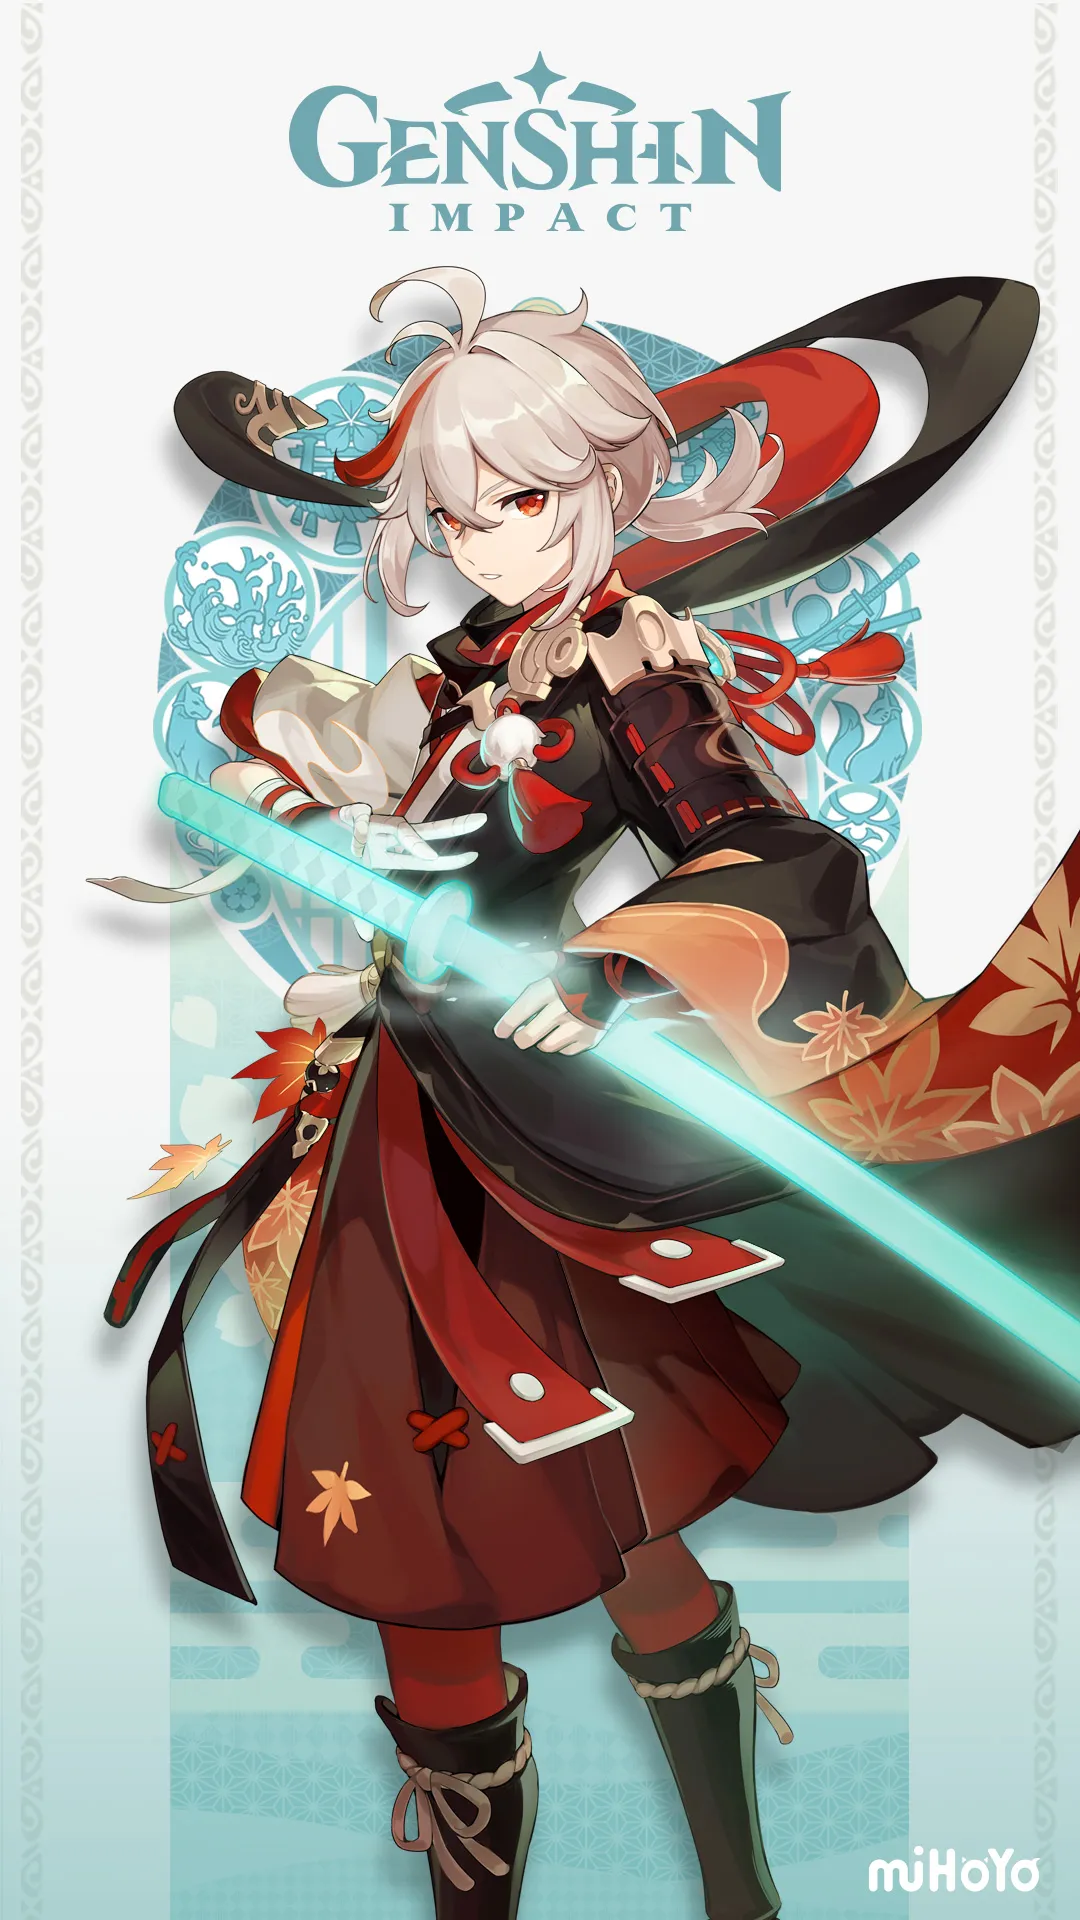
Yae Miko is a 5-star Electro Catalyst sub-DPS who deploys Sesshou Sakura turrets that deal continuous off-field Electro damage. As the Guuji of the Grand Narukami Shrine, she excels in Quicken (Aggravate) teams where her turrets consistently trigger the reaction. Her Elemental Burst delivers a massive nuke by consuming all active turrets. While her playstyle requires frequent field time to refresh turrets, Yae Miko rewards with some of the highest off-field Electro DPS in the game, especially when paired with Fischl as a battery and Dendro supports for Aggravate.
1. Best Weapons (Ranked)
| Rank | Weapon | Rarity | Base ATK | Sub-stat | Notes |
|---|---|---|---|---|---|
| 1 | Kagura's Verity | ⭐⭐⭐⭐⭐ | 608 | CRIT DMG 66.2% | Signature BiS. Stacks E DMG 12%×3. Yae can maintain full stacks easily with turret placement. |
| 2 | The Widsith R5 | ⭐⭐⭐⭐ | 510 | CRIT DMG 55.1% | Best 4-star. Random buff: 120% ATK, 96% Elemental DMG, or 480 EM. All three benefit Yae. 30s cooldown means buff every other rotation. |
| 3 | Skyward Atlas | ⭐⭐⭐⭐⭐ | 674 | ATK 33.1% | High base ATK + Elemental DMG bonus. Passive cloud attack adds extra damage. Solid stat stick. |
| 4 | Sacrificial Fragments | ⭐⭐⭐⭐ | 454 | Elemental Mastery 221 | EM-focused option for Aggravate. Skill reset allows extra turret placements. Good F2P choice. |
2. Best Artifact Sets
Best for off-field Yae. 70% Elemental Skill DMG bonus — her turrets deal the majority of her damage. The 2pc effect (20% Skill DMG) works even on-field.
Main Stats Priority
| Slot | Main Stat | Notes |
|---|---|---|
| Sands | ATK% / EM | ATK% generally. EM sands in pure Aggravate teams with low ATK buffs. |
| Goblet | Electro DMG% | Always Electro DMG. |
| Circlet | CRIT Rate / CRIT DMG | Target 70:180+ ratio. |
Sub-stat Priority
- 1. CRIT Rate / CRIT DMG — 70:180+
- 2. ATK% — 1800+ ATK
- 3. Elemental Mastery — 100-200 for Aggravate
- 4. Energy Recharge — 130-140% (lower with Fischl battery)
3. Best Team Compositions
👥 Yae Miko + Nahida + Fischl + Kazuha
Premium Aggravate. Nahida provides EM buff + Deepwood shred. Fischl batteries Yae and triggers more Aggravates. Kazuha groups + Electro DMG buff. Consistent high DPS.
👥 Raiden + Yae + Kazuha + Bennett
Double Electro nuke team. Raiden and Yae alternate bursts. Kazuha buffs Electro. Bennett provides ATK. Massive burst damage window.
👥 Tighnari + Yae + Nahida + Zhongli
Quickswap Spread. Tighnari and Yae both deal Spread/Aggravate damage. Fast rotations. Zhongli provides comfort. High single-target damage.
4. Talent Priority
5. Rotation Guide
Nahida E+Q (EM buff) → Kazuha E+Q (Electro swirl + DMG buff) → Fischl E/Q (Oz summon) → Yae E×3 (place turrets) → Yae Q (detonate turrets) → Yae E×3 (replace turrets) → Kazuha E (refresh VV) → Repeat
6. Common Mistakes
❌ Bursting without 3 turrets — each turret consumed adds an extra lightning strike. Without 3, you lose massive damage.
❌ Not refreshing turrets after burst — Q destroys all turrets. Always re-place E×3 immediately after.
❌ Building full EM like Hyperbloom trigger — Yae's Aggravate damage scales with ATK and CRIT as well. Pure EM is only for Hyperbloom teams.
❌ Using Yae as solo Electro — without Fischl battery, Yae needs 150%+ ER and loses significant damage potential.