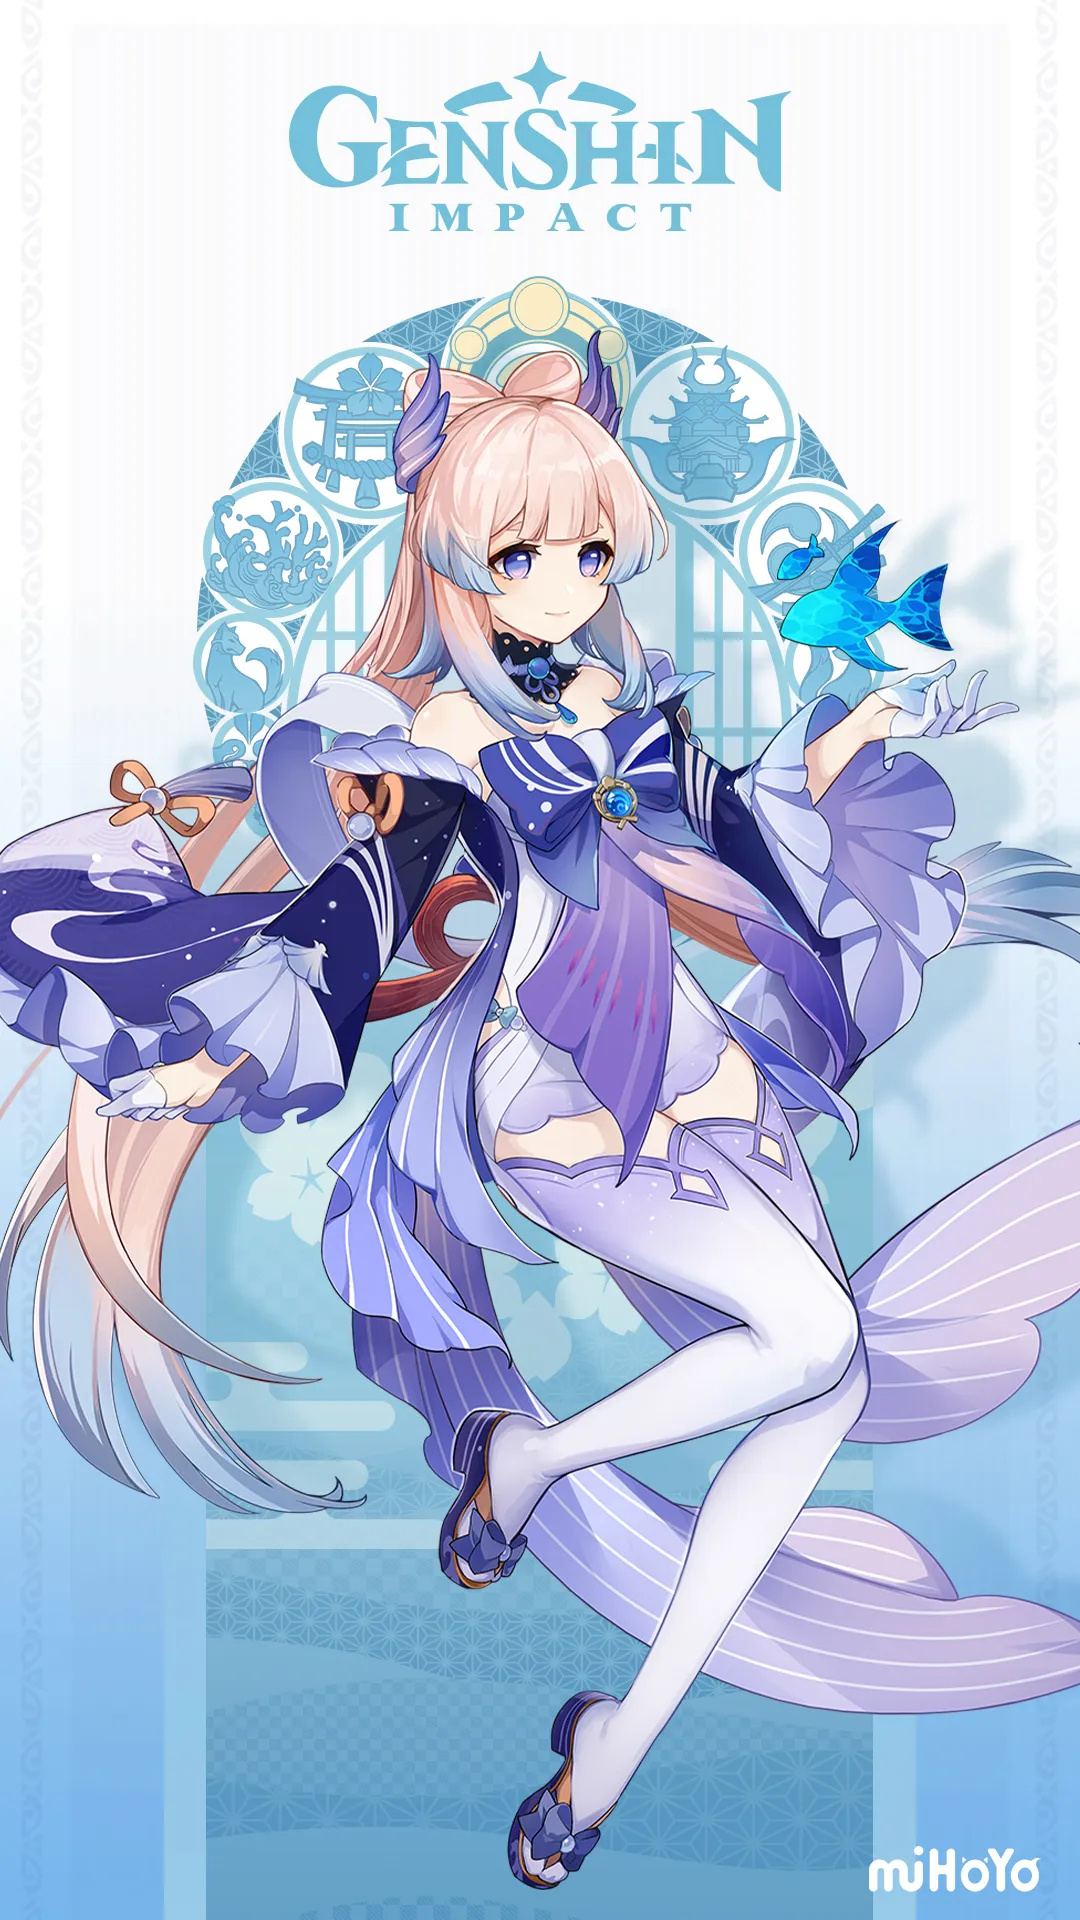
Sangonomiya Kokomi is a 5-star Hydro Catalyst healer who combines sustained off-field Hydro application with massive team-wide healing. Her Elemental Skill (Kurage's Oath) provides AoE Hydro application and healing every 2 seconds, while her Burst refreshes the skill duration and enhances her normal attacks. Kokomi is the premier comfort pick for Freeze and Bloom teams — she consolidates the healer and Hydro applicator roles into one slot, freeing your team for more damage. While often underestimated, she's one of the most versatile and valuable supports in the game.
1. Best Weapons (Ranked)
| Rank | Weapon | Rarity | Base ATK | Sub-stat | Notes |
|---|---|---|---|---|---|
| 1 | Everlasting Moonglow | ⭐⭐⭐⭐⭐ | 608 | HP 49.6% | Signature. HP substat + Healing Bonus + Normal ATK DMG based on HP. Best for on-field Kokomi. |
| 2 | Prototype Amber R5 | ⭐⭐⭐⭐ | 510 | HP 41.3% | Best F2P. HP substat + team energy refund on Burst. At R5, nearly matches Moonglow for healing. |
| 3 | Thrilling Tales of Dragon Slayers R5 | ⭐⭐⭐ | 401 | HP 35.2% | Support option. R5 gives 48% ATK to next character. Ideal for freeze support Kokomi. |
| 4 | Sacrificial Fragments | ⭐⭐⭐⭐ | 454 | Elemental Mastery 221 | Bloom team option. EM substat + skill reset for continuous jellyfish uptime. |
2. Best Artifact Sets
Best for healer Kokomi. Converts healing into physical AoE damage (up to 27K per bubble). Kokomi's consistent healing maxes the bubble easily.
Main Stats Priority
| Slot | Main Stat | Notes |
|---|---|---|
| Sands | HP% / ER% | HP% for healing. ER% sands if below 160% ER and not using Prototype Amber. |
| Goblet | Hydro DMG / HP% | Hydro DMG for on-field Burst mode. HP% for pure healing. |
| Circlet | Healing Bonus / HP% | Healing Bonus maximizes both healing and Clam bubble damage. HP% is a budget option. |
Sub-stat Priority
- 1. HP% — 35K+ target for max healing
- 2. Energy Recharge — 160-180% (lower with Prototype Amber)
- 3. Elemental Mastery — only for Bloom/Nilou teams
- 4. Flat HP — minor healing boost
3. Best Team Compositions
👥 Ayaka + Kokomi + Kazuha + Shenhe
Premium freeze team. Kokomi provides 100% uptime AoE Hydro with her jellyfish. Consolidates healer + Hydro slot. Kazuha groups + buffs Cryo DMG.
👥 Nilou + Kokomi + Nahida + Flex Dendro
Kokomi is the best driver for Nilou Bloom. Her healing offsets self-damage from blooms. Full EM build for maximum bloom damage.
👥 Kokomi + Fischl + Beidou + Kazuha/Sucrose
On-field Kokomi drives Electro-Charged. Clam set provides additional AoE damage. Very comfortable and safe team.
4. Talent Priority
5. Rotation Guide
Shenhe E+Q (Cryo buff) → Kazuha E+Q (Cryo swirl + group) → Kokomi E (jellyfish, Hydro apply) → Ayaka dash + E + Q → Ayaka NA/CA spam → Refresh Kokomi E with Q before it expires
6. Common Mistakes
❌ Building ATK/Crit on healer Kokomi — her passive gives -100% CR. She cannot crit. HP and Healing Bonus are the only stats that matter.
❌ Not refreshing jellyfish — Kokomi's E has 12s duration, 20s cooldown. Use Q to refresh before it expires for 100% uptime.
❌ Using HP goblet over Hydro DMG in on-field teams — during Burst, Kokomi's normal attacks deal significant damage with Hydro goblet.
❌ Ignoring ER — without Prototype Amber or sufficient ER, Kokomi cannot Burst to refresh her jellyfish.